项目配置
@Value(“${变量名}”)
变量名:配置文件中的全局变量
1
2
3
4
|
@Value("${name}")
private String name;
@Value("${desc}")
private String desc;
|
yml配置文件中的配置
1
2
|
name: 维吉尔
desc: 你好,${name}!
|
@ConfigurationProperties(prefix = “对象名”)
@ConfigurationProperties(prefix = “person”)注解要和@Component一起用
 1
 2
 3
 4
 5
 6
 7
 8
 9
10
11
12
13
14
15
16
17
18
19
20
21
22
23
24
25
26
27
28
29
30
31
32
33
34
35
36
37
38
39
40
41
|
@Component
@ConfigurationProperties(prefix = "person")
public class Person {
    private String name;
    private int age;
    private String sex;

    public String getName() {
        return name;
    }

    public void setName(String name) {
        this.name = name;
    }

    public int getAge() {
        return age;
    }

    public void setAge(int age) {
        this.age = age;
    }

    public String getSex() {
        return sex;
    }

    public void setSex(String sex) {
        this.sex = sex;
    }

    @Override
    public String toString() {
        final StringBuffer sb = new StringBuffer("Person{");
        sb.append("name='").append(name).append('\'');
        sb.append(", age=").append(age);
        sb.append(", sex='").append(sex).append('\'');
        sb.append('}');
        return sb.toString();
    }
}
|
yml配置文件中的对象配置
1
2
3
4
|
person:
  name: Vigilr
  age: 23
  sex: 男
|
调用方式,会用到@Autowired和@GetMapping("/person")
1
2
3
4
5
6
7
|
@Autowired
private Person person;

@GetMapping("/person")
public String printPerson() {
    return this.person.toString();
}
|
请求方式
| 代码 |
说明 |
举例 |
@GetMapping("/url") |
get请求 |
@GetMapping("/user/{id}") |
@PostMapping("/url") |
post请求 |
@PostMapping("/user") |
@PutMapping("/url") |
put请求 |
@PutMapping("/user/{id}") |
Controller相关注解
@Controller
1
2
3
4
5
6
7
|
@Controller
public class HelloController {
    @GetMapping("/index")
    public String printIndex() {
        return "index";
    }
}
|
直接用可解析HTML
@ResponseBody
与@Controller配合使用
1
2
3
4
5
6
7
8
|
@Controller
public class HelloController {
    @GetMapping({"/hello", "hi"})
    @ResponseBody
    public String sayHello() {
        return desc;
    }
}
|
@RestController
@RestController=@Controller+@ResponseBody
1
2
3
4
5
6
7
|
@RestController
public class HelloController {
    @GetMapping({"/hello", "hi"})
    public String sayHello() {
        return desc;
    }
}
|
获取参数
@PathVariable(“参数名”)
1
2
3
4
|
@GetMapping("/user/{id}")
public UserEntity findId(@PathVariable("id") Integer id) {
    return repository.findById(id).orElse(null);
}
|
@RequestParam(“参数名”)
1
2
3
4
5
6
7
8
9
|
@PostMapping("/user")
public UserEntity create(@RequestParam("age") Integer age,
                         @RequestParam("name") String name, @RequestParam("sex") String sex) {
    UserEntity userEntity = new UserEntity();
    userEntity.setAge(age);
    userEntity.setName(name);
    userEntity.setSex(sex);
    return repository.save(userEntity);
}
|
数据库相关
@Entity
表的定义
@Id
设置主键
@GeneratedValue
设置自增
 1
 2
 3
 4
 5
 6
 7
 8
 9
10
11
12
13
14
15
16
17
18
19
20
21
22
23
24
25
26
27
28
29
30
31
32
33
34
35
36
37
38
39
40
41
42
43
44
|
@Entity
public class UserEntity {
    @Id
    @GeneratedValue
    private Integer id;
    private String name;
    private String sex;
    private Integer age;

    public UserEntity() {
    }

    public Integer getId() {
        return id;
    }

    public void setId(Integer id) {
        this.id = id;
    }

    public String getName() {
        return name;
    }

    public void setName(String name) {
        this.name = name;
    }

    public String getSex() {
        return sex;
    }

    public void setSex(String sex) {
        this.sex = sex;
    }

    public Integer getAge() {
        return age;
    }

    public void setAge(Integer age) {
        this.age = age;
    }
}
|
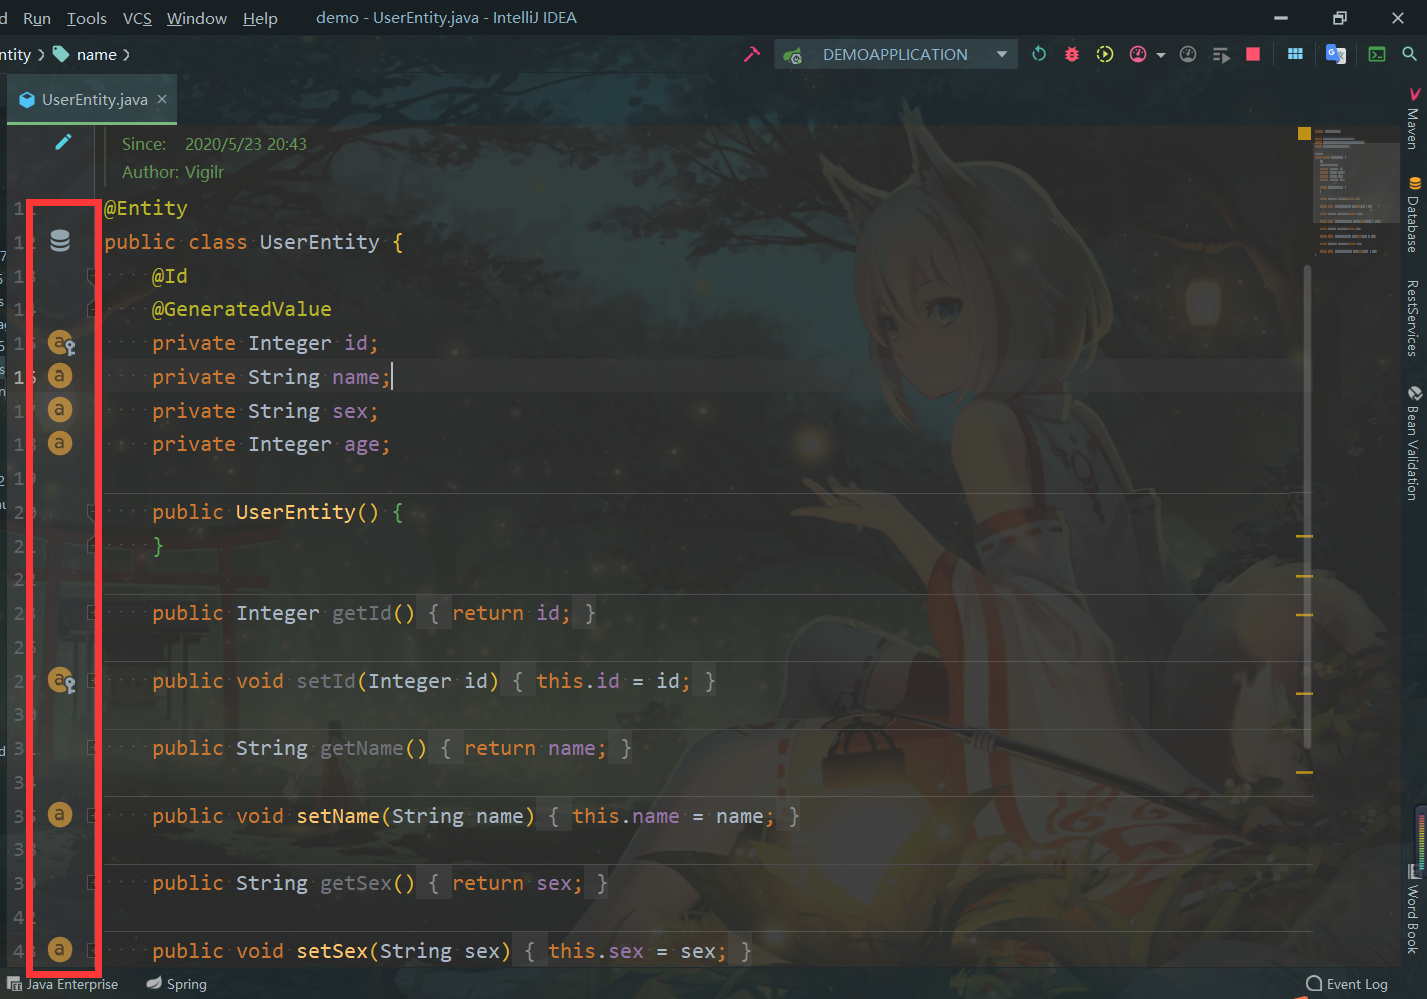
在IDEA中声明@Entity后,左侧会有数据库的标志
@Transactional
 1
 2
 3
 4
 5
 6
 7
 8
 9
10
11
12
13
14
|
@Transactional
public void createTwo() {
    UserEntity userEntity1 = new UserEntity();
    userEntity1.setAge(12);
    userEntity1.setName("wasd");
    userEntity1.setSex("sssss");
    repository.save(userEntity1);

    UserEntity userEntity2 = new UserEntity();
    userEntity2.setAge(1314);
    userEntity2.setName("zxcvbnm");
    userEntity2.setSex("ddddddd");
    repository.save(userEntity2);
}
|
数据库表的引擎必须为INNODB才可进行事务管理